Your Thomas website is built using the WordPress platform, and we have installed a plugin called Wordfence to provide an additional layer of security when logging in to your website. This plugin uses Two-Factor Authentication (2FA) — in this article, we will explain what two-factor authentication, or multi-factor authentication (MFA), is and how to implement it on your Thomas website.
Important: Thomas now requires any user with Administrator (Admin) level access to their WordPress website to log in via 2FA. If you do not implement 2FA, we will grant you the next highest level of WordPress access, Editor. This is to ensure the security of your website, the server it is located on, and all of the websites hosted with Thomas.
What is Two-Factor Authentication?
“Two-factor authentication” is an additional login security feature that is used by banks, government agencies, and the military worldwide. It is one of the most secure forms of remote system authentication. This method of logging in to your site relies on something you know and something in your possession. That is why it is referred to as “two-factor,” because of the two factors that are involved in authenticating you.
In this case, you know your password, and you are in possession of your cell phone or another authenticator device. If both of these can be verified when attempting to log in, then it is most likely safe to allow you to continue the login process. Wordfence two-factor authentication is designed to be used mainly by site administrators and with high-level access such as an editor but is also available for other roles if you choose. Two-factor authentication was previously a Premium feature but is now available to users running any version of Wordfence.
Wordfence two-factor authentication uses an authenticator application, such as Google Authenticator (or similar), to generate unique rotating codes for you rather than SMS text messages.
Multi-factor Authentication (MFA) is the same concept as 2FA, but can extend beyond two factors. Generally, the terms are interchangeable.
How to Enable Two-Factor Authentication
In Wordfence 7.3 and later, two-factor authentication uses an authenticator application for better security and reliability, instead of SMS text messages.
First, choose an authenticator application to use if you do not already have one installed on a cell phone or tablet. There are many available for iOS, Android, and other platforms, including:
- Google Authenticator
- LastPass Authenticator
- Microsoft Authenticator
- Authy 2-Factor Authentication
- Sophos Mobile Security
- FreeOTP Authenticator
- 1Password (mobile and desktop versions)
- Any other authenticator app that supports Time-Based One-Time Passwords (TOTP)
Enabling Two-Factor Authentication
Follow these steps to enable two-factor authentication:
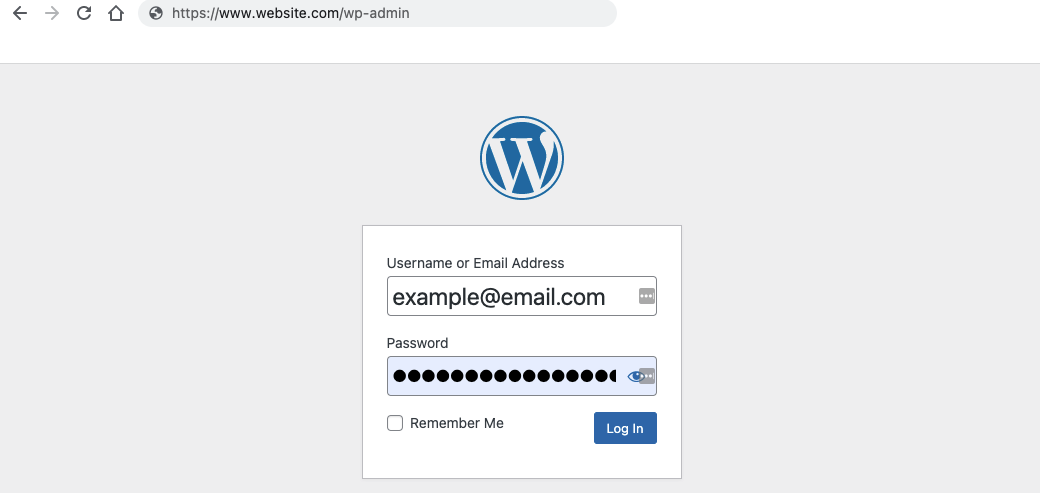
1. Visit your WordPress backend. This is the URL of your website + /wp-admin. www.example.com/wp-admin Enter your username and password and press the “Log In” button.
2. Go to the Wordfence “Login Security” page.
Please note: The image below has the actual QR code, manual code, and backup codes intentionally blurred out.


Please note: If you are accessing a site on a phone or tablet and obviously cannot point the camera at its own screen, you can copy the line of letters and numbers below the QR code and paste that into an application using the application’s “manual” setup option.
5. In the “Download recovery codes” section, click the “Download” button.
-
- Recovery codes can be used if you lose your device.
- Print or save the file and store it in a safe place.
- This code changes every 30 seconds.
- If the code expires, you can enter the next code instead.
6. Click the “Activate” button.
If this is your first time setting up two-factor authentication on a site then you may want to try logging in to the site in a different browser, or in a private or incognito browser window, to check for any compatibility issues before logging out.
Logging into WordPress with Two-Factor Authentication
The steps above only need to be implemented once per user. Once you set up 2FA in WordPress via Wordfence, you can follow these steps to log in via 2FA whenever you want to access your website:
- Visit your WordPress backend. Enter your username and password and press the “Log In” button.
- When the “2FA Code” prompt appears, enter the code from your authenticator application.
- If you use two-factor authentication for multiple sites, be sure to pick the correct site.
- Press the “Log In” button.
If you use another incompatible plugin or theme that modifies the login page and you cannot see the “2FA Code” prompt, or if you prefer a slightly quicker method, you can also enter a two-factor authentication code directly after your password, in the same field:
- Enter your username and password but do not press the “Log In” button yet.
- Immediately after your password, enter the code from your authenticator application.
- If you used the old Wordfence two-factor authentication, note that you no longer need to enter a space or letters
- For example, if your password is w0rdf3nce#! and the code is 233455 then enter w0rdf3nce#!233455 as your password.
- Press the “Log In” button.
Important: if you have any issues implementing 2FA or logging into your website, please reach out to our team here.